How to Hang Your Posters
From Debbie Lynn
So, you bought a Debbie Lynn poster and it showed up on your doorstep... now what?
Many of our customers asked themselves at some point:
How Can I Hang My Poster?
You have several choices!
Painter's tape works well and you probably have it in your home.

Command Poster Strips allow you to hang posters, kids' artwork, banners, and signs without the hassle of tools and nails. They promise to hold strongly on a variety of smooth, finished surfaces, and adhesive strips remove cleanly with no sticky residue or damage left behind.

If you don't mind a few small holes, decorative push pins will work fine. You can get creative and choose ones that match the poster theme or go with a generic pin!

If you have a big whiteboard that's fairly close to the size of your poster, hang your poster with magnets.

If you have textured walls, or are concerned about your art medium bleeding through, hang an old sheet behind the poster. This will even out the texture and give you ultimate protection.
This video will give you a bunch of great ideas you can use to hang any type of poster:
Wondering how to flatten a poster that was rolled?
Check out this short video:
Many classrooms these days have cinder block walls, which can be challenging when it comes to making posters stick.
Not to worry though: we have a few clever solutions for you.
Use a Glue Gun
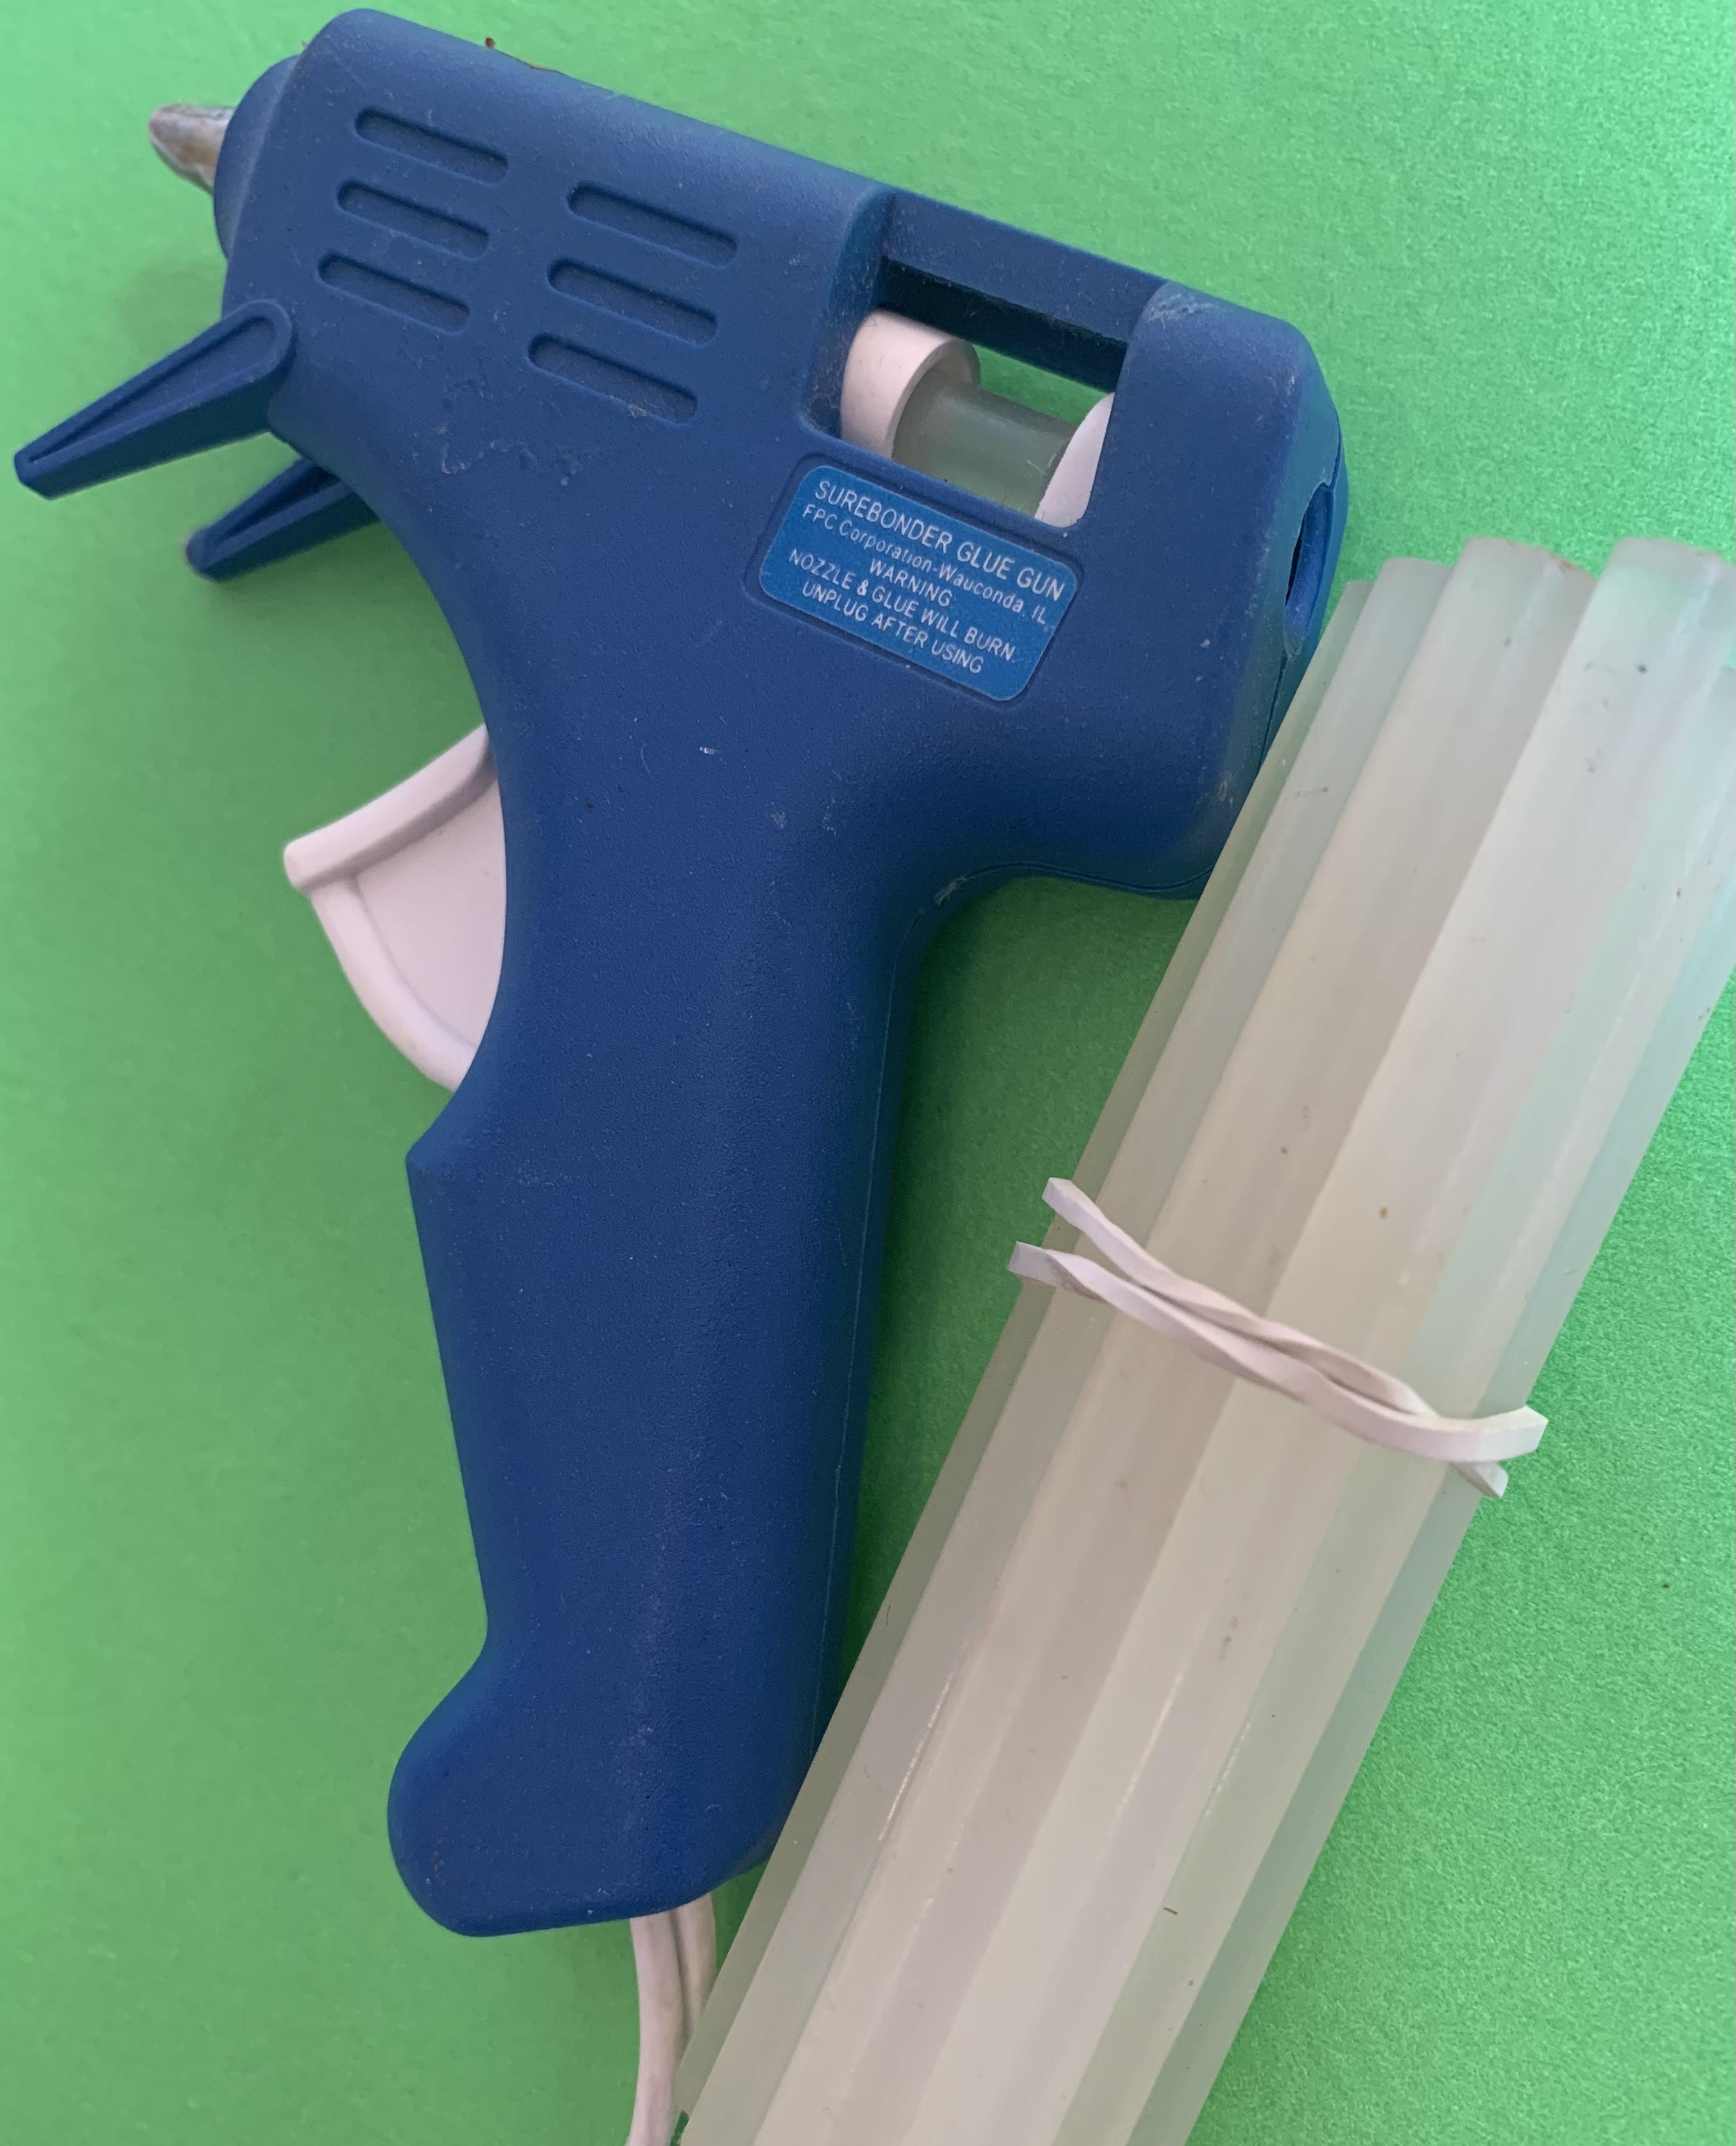
Before applying glue to your wall, you want to mark the hanging spots, making sure your poster is level.
Next, load up a glue stick, plug it in and let it heat up, then squeeze a bead of hot glue onto the wall where the top corners of your poster will be.
While the glue is still warm and soft, grab the poster and align it with your markings, pressing the corners gently onto the warm, sticky glue beads.
Your poster should hang securely from the two corners within half a minute or so.
Next, squeeze out two more beads on the wall, under the bottom corners of your poster. Making sure the edges of the sheet are straight, press each bottom corner onto the glue, making sure the poster is firmly attached to the wall in all four corners.
Since you're working with a fairly hot tool, please make sure kids aren't around when you do this.
Also, it's a good idea to have a second person helping you out, since some posters can be quite large!
Blu-Tack

Blu-Tack is just one of the more popular names for sticky bits that can be used to adhere to your cinder block walls (and of course to paper as well)
There are other manufacturers that make similar products.
Choose a white/colorless version that 's less likely to leave any residue on the wall when removing it at the end of the year.
Stikki Clips

If you're looking for an adhesive that will stick to any surface AND leave absolutely no residue, look no further.
What makes it even better is that the stickers are reusable, so you won't have to buy lots of them each year. As a bonus, you won't create a lot of waste either.
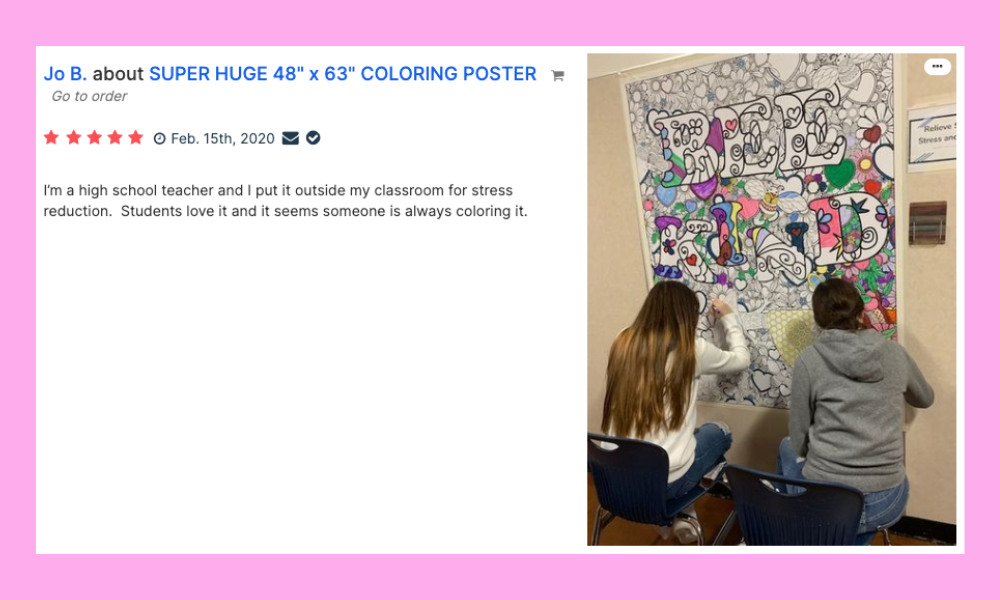
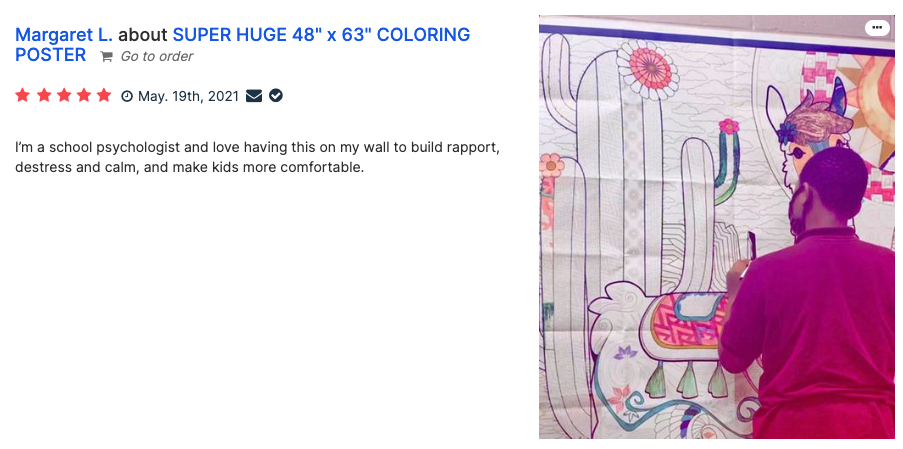
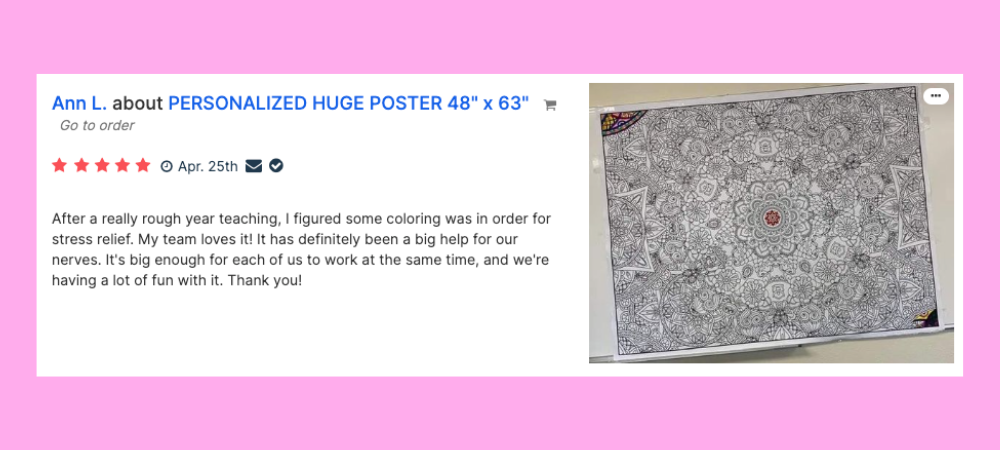
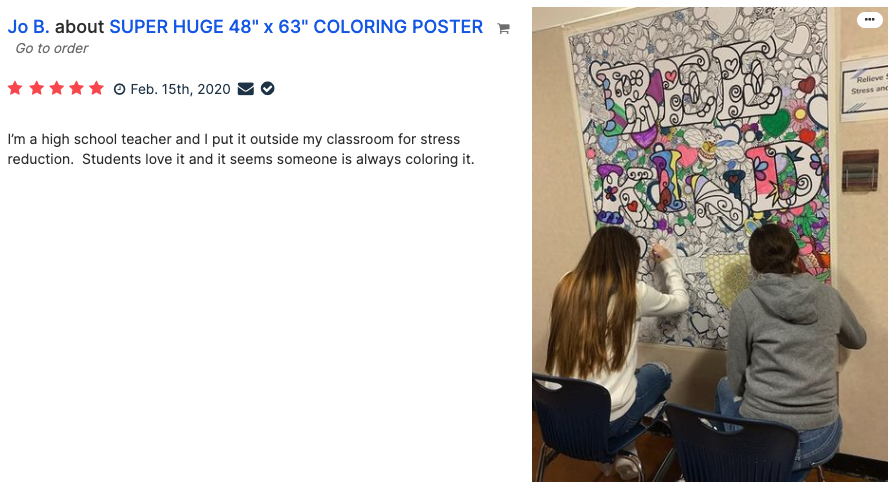
Want to see what some of our customers think about our posters? Check out a few reviews below:

2024 Vision Board Personalized Giant Coloring Poster 46"x60"

Flip Flops Personalized Giant Coloring Poster 46"x60"
